Installing for mass production
How to bake Dataplicity into a standard build image
Dataplicity's quick one-line installation is fantastic to get started on your first few Raspberry Pi devices. But if you are assembling and imaging Pi devices in their hundreds, manually typing in the command to each Pi is pretty time consuming.
Here we discuss how to incorporate Dataplicity into your standard build image.
Please ensure the following before proceeding:
Dataplicity is a cloud service which we will be installing as part of a first-time boot sequence for your flash image. As such, your Pi will require internet access at first boot.
Additionally, there is some assumed technical knowledge required for this process:
- A broad understanding of how to prepare firmware images for mass deployment
- A basic understanding of manufacturing and assembly procedures
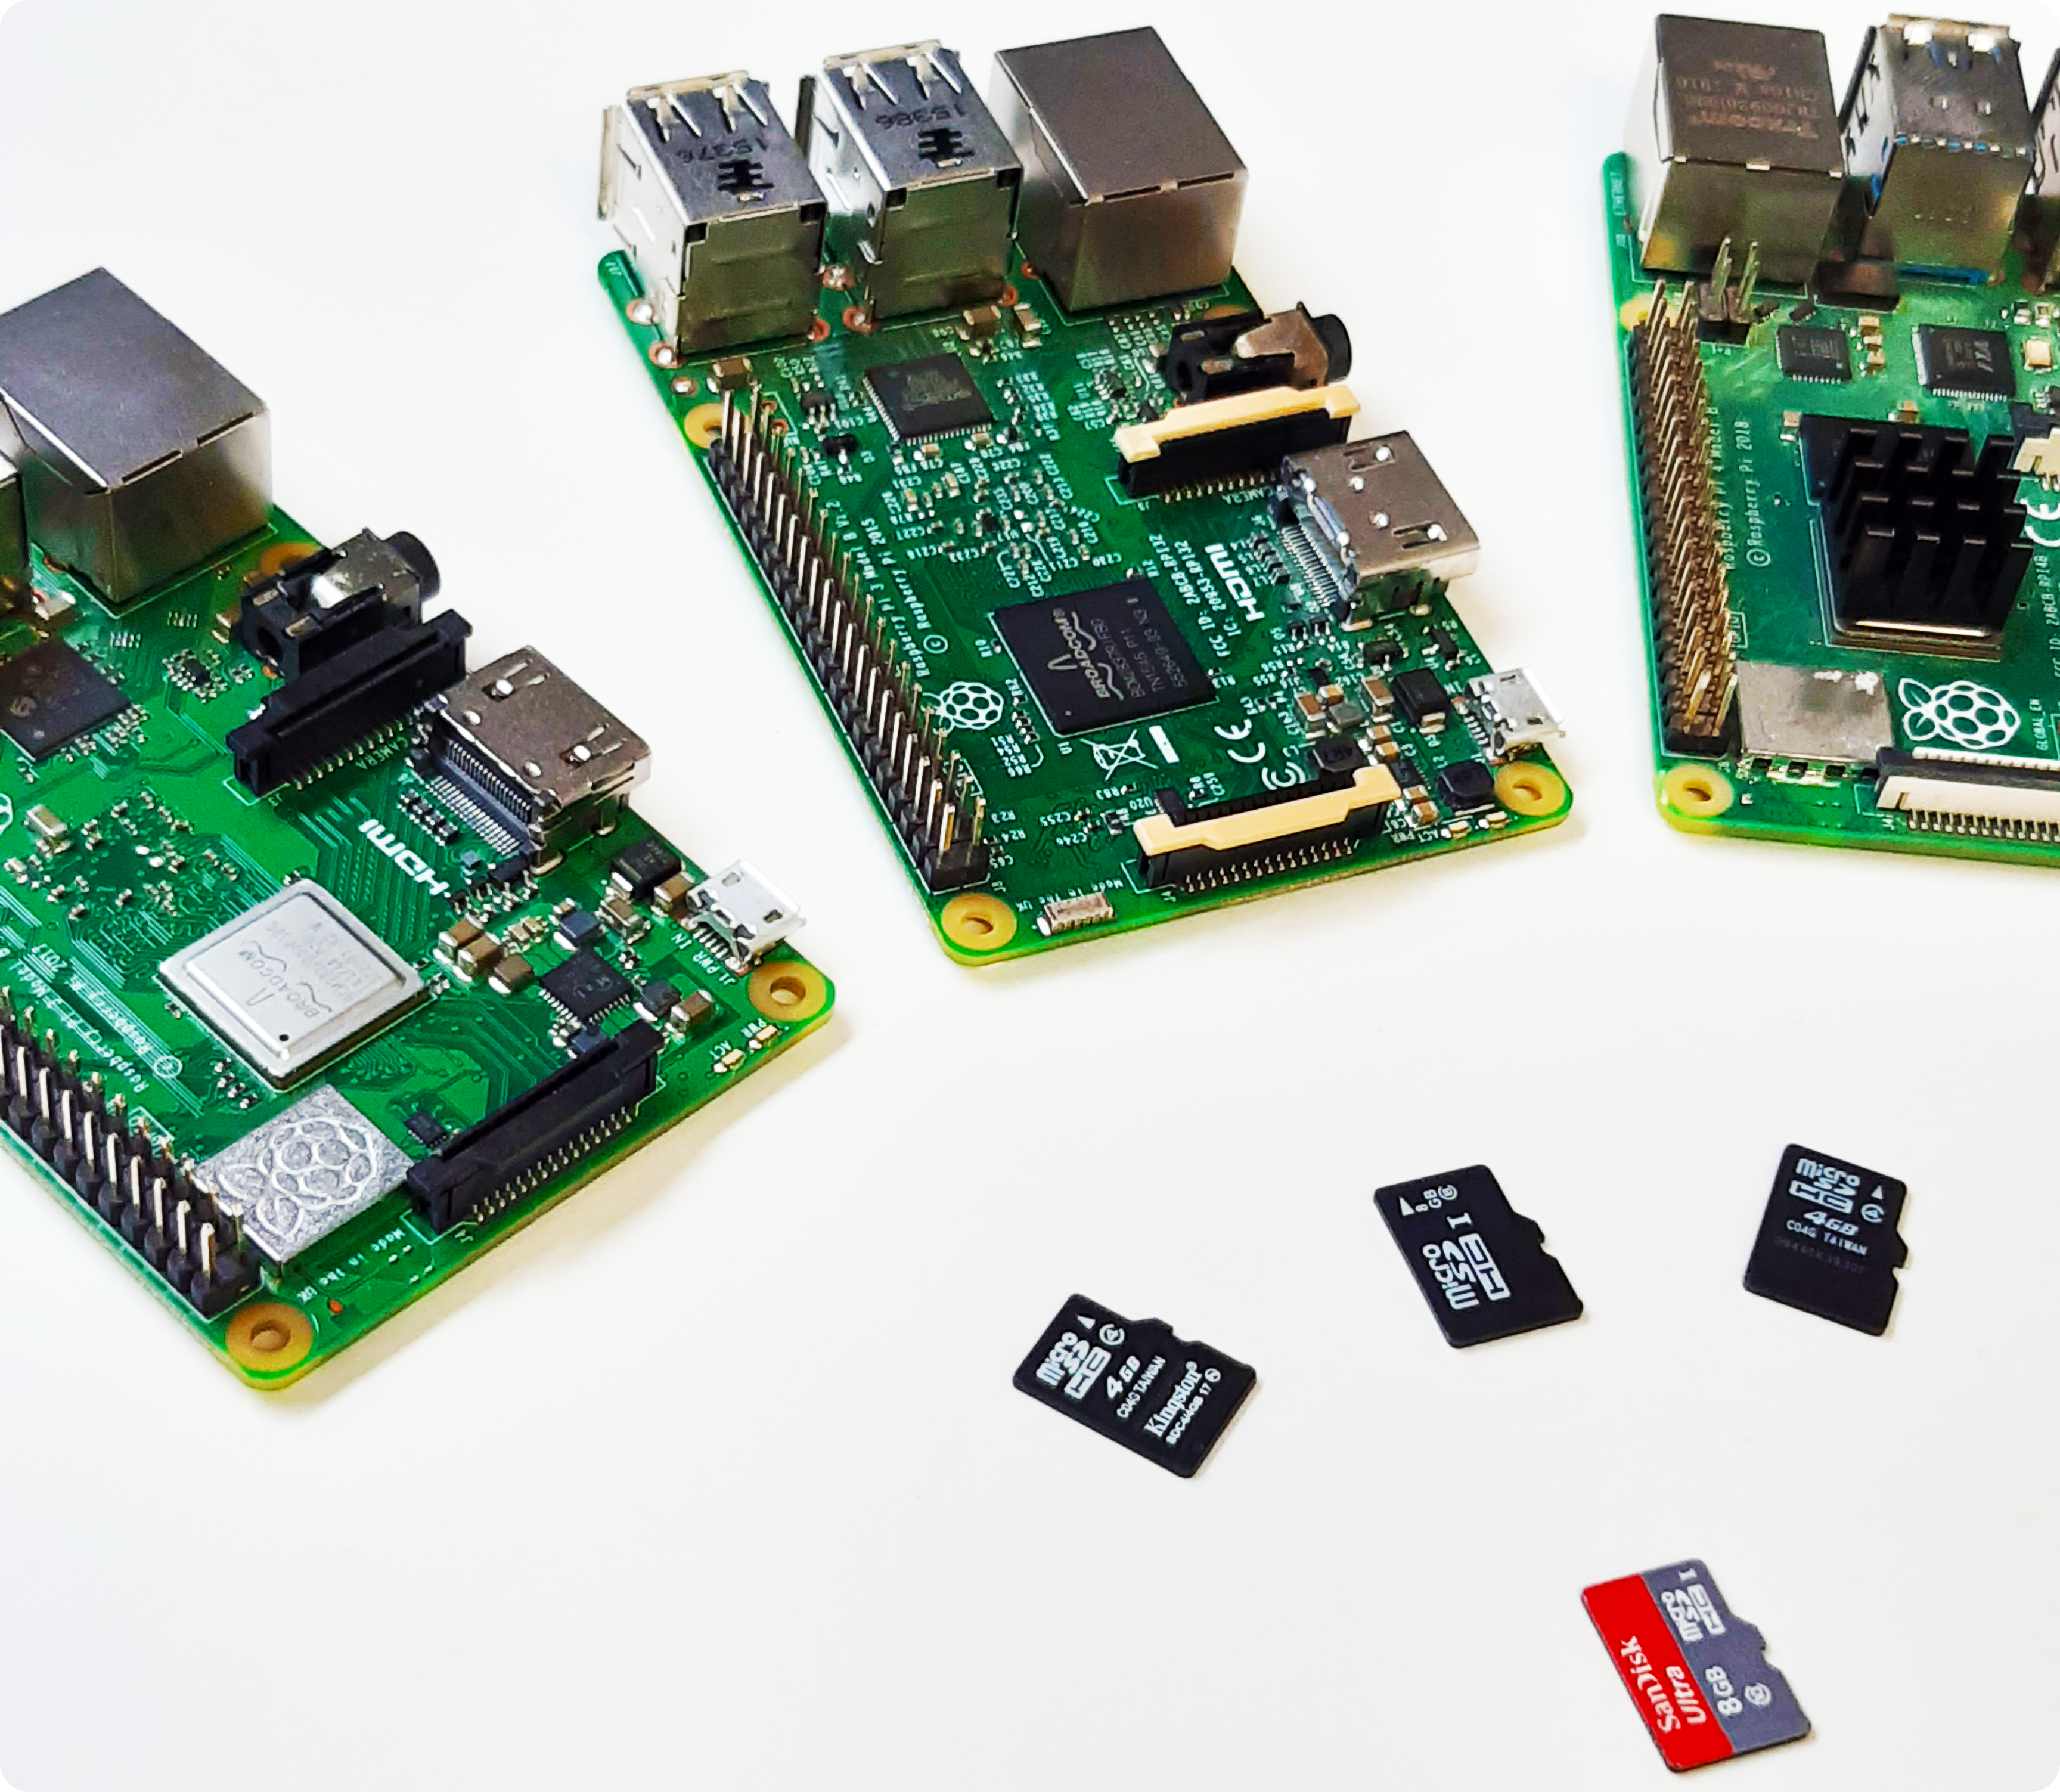
Finally, and assuming that you are using an SDCard-based method to replicate your images, you'll need a bunch of SDCards and an SDCard reader.
Overview
The way we'll go about mass installing Dataplicity will be by adding a one-time installer to a Raspberry Pi Operating System image. This installer will run as soon as the device gets access to the internet and will then delete itself. The way to plant this installer inside an image in the first place will be by flashing a Raspberry Pi with an image, adding the installer to it and downloading the image with the installer off of the Pi onto your computer. This downloaded image will then be used as the base image for mass installation on your Raspberry Pis.
Mass installer script
As mentioned above to start with this step you will need to have flashed a Raspberry Pi with a Raspberry Pi Operating System image. Then you can proceed as per instructions below.
Mass installer script actions overview:
- Assign Raspberry Pi's serial number as hostname for the device. This ensures that all new devices will have a unique name on the device list.
- Wait for 30 sec for an available network interface to be configured - typically
eth0. - Check if Dataplicity has already been installed (and do not re-install)
- Check if there is a working internet connection
- Download packages and register the device
- After successful installation delete the script and it's associated files. The only thing left will be
/var/log/mass-install-dp.logfile.
If at any point the script fails (for example because the internet connection was not viable), the installation process could be restarted simply by rebooting the device, causing the script to run again.
To begin, create a file called mass-install-dp inside the if-up.d scripts directory (this is the home for scripts that run after an internet interface is set to 'up' (active) ).
sudo nano /etc/network/if-up.d/mass-install-dpCopy the script below into that file and be sure to assign the ACCT_ID variable with your Dataplicity installer ID variable. Dataplicity Installer ID can be found inside the installer command in the "add new device" tab. In the example below the ACCT_ID="EXAMPLE123" would become something like ACCT_ID="c0ff3c0f".
#!/bin/sh

ACCT_ID="EXAMPLE123"
INSTALL_URL="https://www.dataplicity.com/$ACCT_ID.py | sudo python"
LOG_FILE="/var/log/mass-install-dp.log"

#Wait maximum 30 seconds on network connectivity before giving up
limit=30
retry=0

#Don't bother to run when lo is configured
if [ "$IFACE" = lo ]; then
    exit 0
fi

#Only run from ifup
if [ "$MODE" != start ]; then
    exit 0
fi

if [ ! -e /opt/dataplicity/mass-install-hostname ]; then
    echo "Configuring hostname..." >> $LOG_FILE 2>&1

    procinfo=$(cat /proc/cpuinfo | grep Serial)
    rpi_serial=$(echo $procinfo | tr " " "\n" | tail -1)

    if [ -z $rpi_serial ]; then
	echo "Raspberry Pi serial number not found" >> $LOG_FILE 2>&1
    else
	echo $rpi_serial | sudo tee /etc/hostname

	sudo sed -i '$d' /etc/hosts
	printf "127.0.0.1\t$rpi_serial\n" | sudo tee --append /etc/hosts

	sudo mkdir /opt/dataplicity
	sudo touch /opt/dataplicity/mass-install-hostname

	echo "Rebooting..." >> $LOG_FILE 2>&1
	sudo reboot
    fi
fi

if [ ! -e /opt/dataplicity/tuxtunnel/auth ]; then
    echo $IFACE >> $LOG_FILE 2>&1

    until ping -c 1 www.google.com > /dev/null ; do
        sleep 1
        retry=$(($retry+1))
        if [ $retry -eq $limit ]; then
            echo "Interface not connected and limit reached..." >> $LOG_FILE
            exit 0
        fi
    done

    echo "Dataplicity will now be installed..." >> $LOG_FILE 2>&1

    /bin/sh -c "curl -k $INSTALL_URL" >> $LOG_FILE 2>&1

    #Self deletion (cleanup)
    /bin/sh -c "sudo rm /etc/network/if-up.d/mass-install-dp /opt/dataplicity/mass-install-hostname"
fi
Set the file permissions so that the file is executable:
sudo chmod 755 /etc/network/if-up.d/mass-install-dpClone the image
Using Windows
To clone an SD card using Windows:
- Power off your Raspberry Pi and take out the SD card.
- Insert the card into your computer's card reader
- Run Win32 Disk Imager
- Inside "Image File" field set where your image is to be stored, for example:
C:\rpi_image.img- Press Read. Wait until finished.
Using Ubuntu Linux
- Power off your Raspberry Pi and take out the SD card.
- Insert the card into your computer's card reader
- Locate which device your SD card appeared as. This can be done with the use of the command:
sudo lsblkand then a size comparison. Typically an SD card would appear as /dev/sdb.
- Take the image off of the SD card (
/dev/sdb) and onto your Ubuntu device with the following command:
sudo dd if=/dev/sdb of=/home/$USER- Wait until finished.
Running your new mass install image
The above cloned image is now the new mass install image. Give it a try by flashing it onto a blank SD card. Connect your new SD Card to your new Pi, attach a working network connection and boot up your Pi.
At this point, if all goes well, your system will load for the first time, install Dataplicity, and register the device with your Dataplicity account. Should the installation fail for any reason, an 'auth' key will not have been created, which means you can retry the installation by simply rebooting the device.
Validating a successful installation
The main indicator of a successful installation is the presence of a device key ("serial") and authorisation file ("auth") in /opt/dataplicity/tuxtunnel/.
Should you encounter any issues, the above installation script will create an installation log file in /var/log/install-dp.log which can be viewed with 'tail', 'less' or just 'cat'.
tail -F /var/log/mass-install-dp.logFinally you should be able to see a device similar to the one below on your device list.

Successfully added device
Updated about 1 month ago