SSH access
Dataplicity Porthole redirects TCP ports from your remote Linux devices to local ports on a Windows or a Mac host. Unlike purely SSH-based solutions, Porthole gives you SSH access despite NAT and without the need for dynamic DNS, remote re-dialling scripts, or static IP addresses.
Overview
In this article we'll go through setting up porthole with classic SSH via Putty on Windows. On Mac, you can use terminal directly in much the same way.
With Porthole:
- Connections do not expire.
- Ports will not disappear after a few hours.
- You manage your own port allocations both remotely and on your local host.
On Windows, Porthole also runs as a system service and is intended for 24x7 production use.
Please ensure the following before proceeding:
- Your PC is running: Windows 7 / 10 / Server 2016 / or newer.
- Your Pi is running Dataplicity Agent 0.4.34 or newer.
Raspberry Pi - Enable SSH access
On newer versions of Raspbian, SSH is disabled by default so we must first enable it.
sudo systemctl enable ssh
sudo systemctl start ssh

sudo systemctl enable regenerate_ssh_host_keys.service
sudo systemctl start regenerate_ssh_host_keys.service
Porthole setup
On first launch Porthole will ask you to provide login details. These are your Dataplicity web account login and password. After logging in the first screen you will see is the list of forwarded devices. Please note that this is not the list of all your devices as you would see on the web.
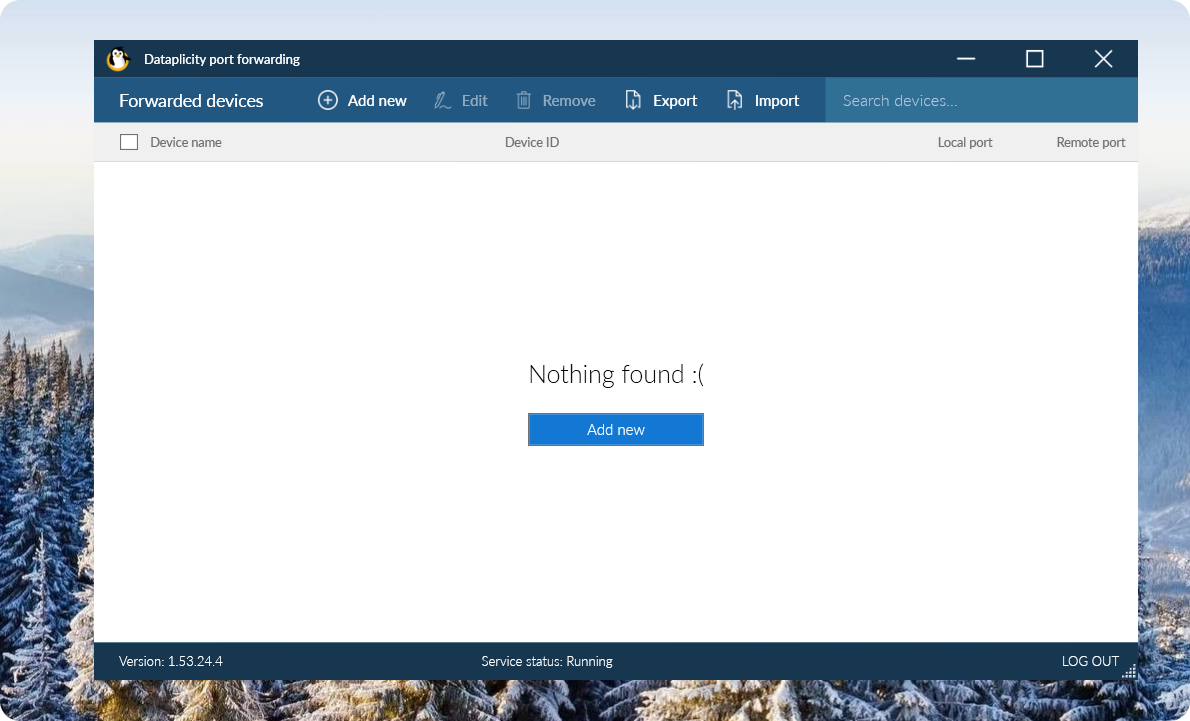
To add a new device click on Add new button in the centre or at the top menu. In the next window you will see three steps:
- Assign local port - the port on your PC where you will receive data from your Raspberry Pi device.
- Select device to be forwarded - choose what device you want to receive data from on your PC.
- Add remote port - choose the port of your Raspberry Pi device from which you want to receive the data.
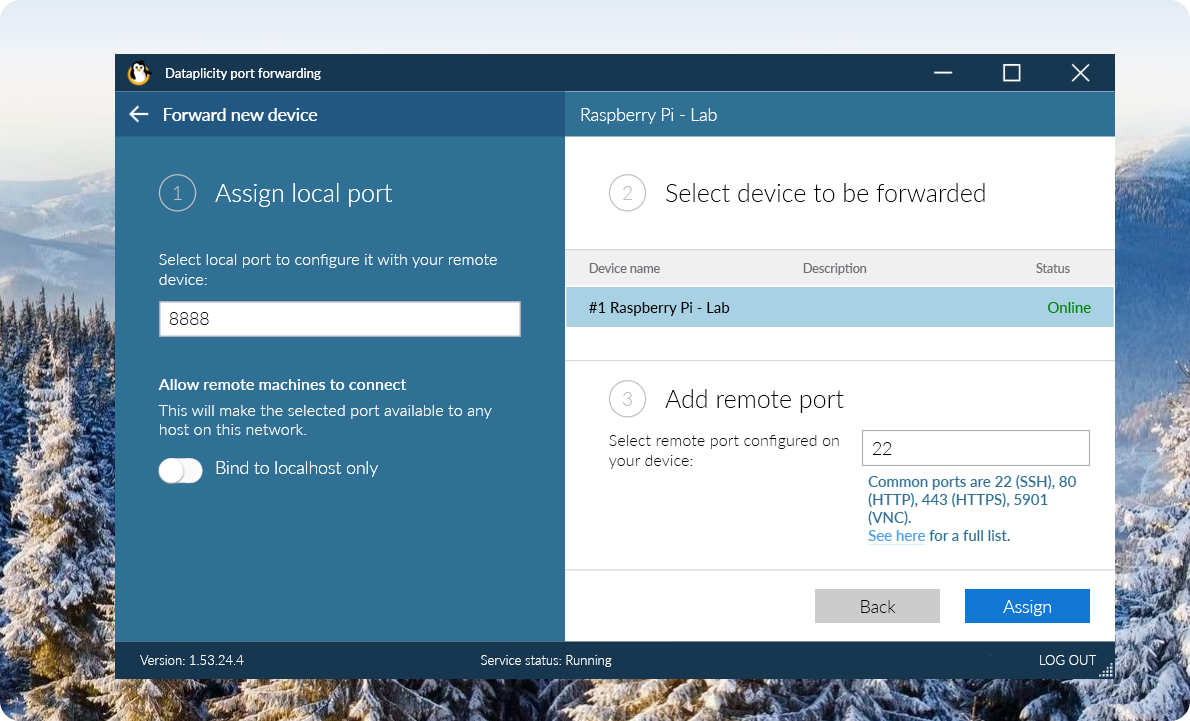
When all the steps have been completed click on Assign. Your list of forwarded devices will then be updated and you will be ready to SSH to your Pi.
Connect from Windows
Launch Putty and it will bring you straight to the login window. Fill it out with the following details:
- Host Name (or IP address): localhost.
- Port: 8888.
- Connection type: SSH.
When that's done click on Open button. Putty will now go through a process of logging you in. You will see a warning on your first login which asks whether you trust connecting to the server. Click on Yes. You will then be logged in to your Raspberry Pi. Following that a connection will open and you will be asked to provide login credentials. Default login for Raspberry Pi devices is pi and the password is raspberry.
SSH keyPlease note that the ssh key that you see in the warning window is a key of your Raspberry Pi device. This key does not reflect any Dataplicity servers, it is a direct connection to your Raspberry Pi.
You are now logged in to your Raspberry Pi device with the use of SSH.
Updated about 2 months ago