

Appearance
Manage Home Assistant with Dataplicity on the free plan #
Most Home Assistant installs run on a Pi at home. The hard part is not installing Home Assistant. It is everything after that: lights stuck on while you are at work, an update that will not finish, an SD card that filled overnight, and wanting the UI without punching a hole in your home router.
Dataplicity's free plan is built for a single Home Assistant host. You get a browser shell to the Linux host, an HTTPS URL into Home Assistant itself, a ping when the Pi goes quiet, a scheduled backup or health check, and a small dashboard so you can see if the host is healthy. No desktop session required, and it works on ordinary Linux installs - not only Raspberry Pi OS with a graphical login.
This guide is about those day-to-day management moments.
What managing HA with Dataplicity looks like #
| Situation | What you do |
|---|---|
| You are out and need Lovelace | Open Wormhole - a normal HTTPS link to the Home Assistant UI |
| Automations stuck / lights wrong | Open Remote Shell, read docker logs, restart the container |
| Bad update or full SD card | Shell: df -h, free space, pull or restart Home Assistant |
| The house went quiet and you are away | One offline monitor tells you the host dropped |
| You keep forgetting backups | One scheduled task hits a backup or notify webhook |
| You just want a glance | One dashboard with online state and that monitor |
Remote desktop tools are fine when you want the whole Pi screen. For Home Assistant, most people want the HA web UI and a real shell for docker - and a message when the host goes offline.
Set up once #
Prefer Raspberry Pi OS / Debian / Ubuntu + Home Assistant Container. That keeps a normal Linux shell and works cleanly with Dataplicity. Home Assistant OS is great for Home Assistant itself, but agent install and shell work are harder on a locked-down appliance.
- Create a free account at dataplicity.com.
- Run the install command on the HA host and rename the device something like
home-assistant-pi. - Install Home Assistant with the official Container method for your board.
- From Remote Shell, confirm the UI is local:
shell
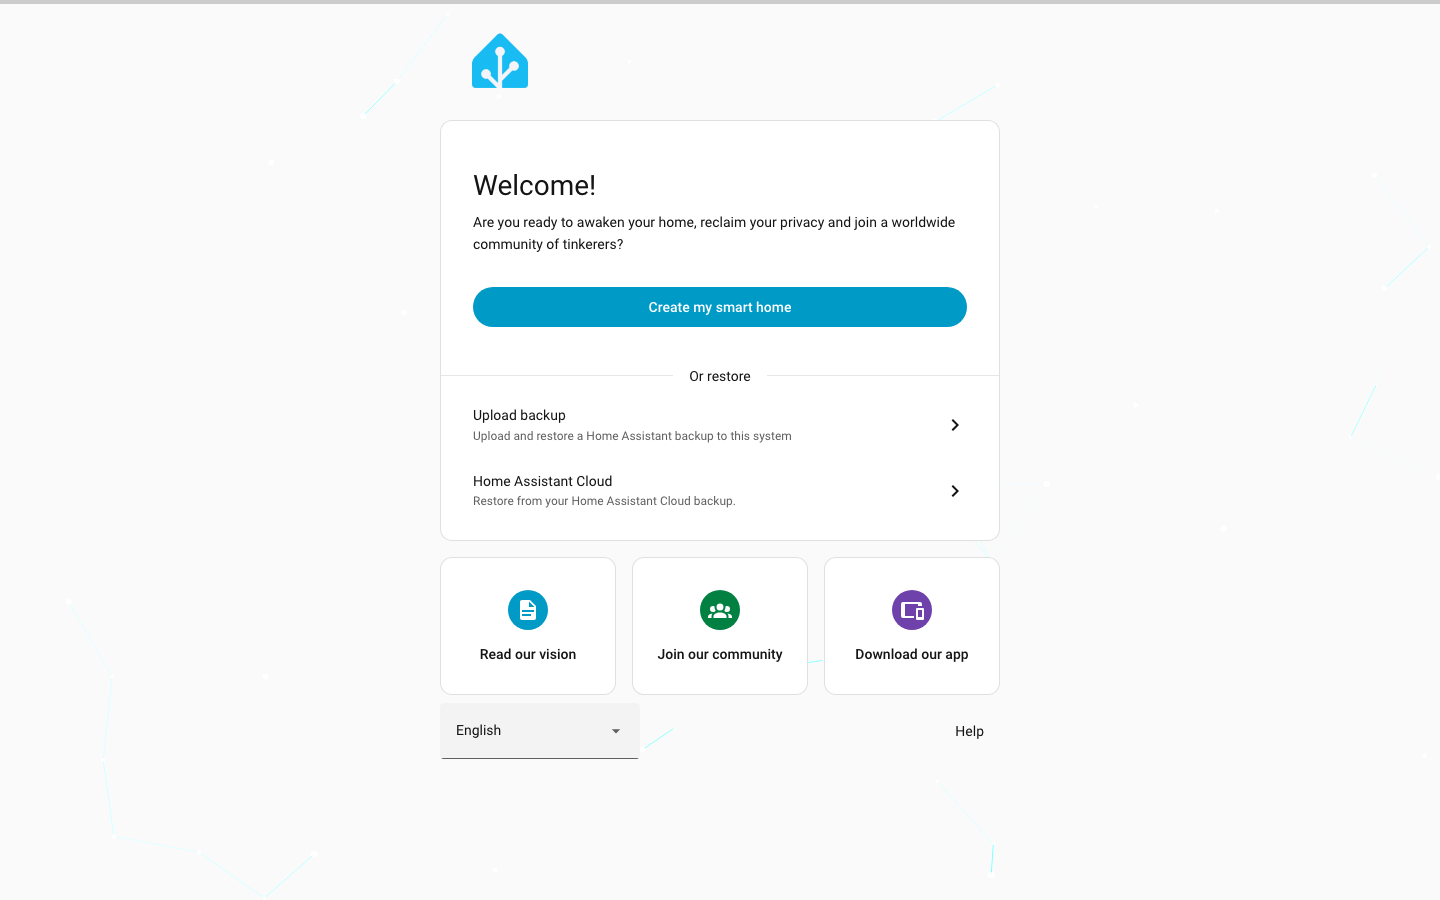
curl -I http://127.0.0.1:8123- Finish Home Assistant onboarding on the LAN. Keep HA's own login on before you expose anything remotely.
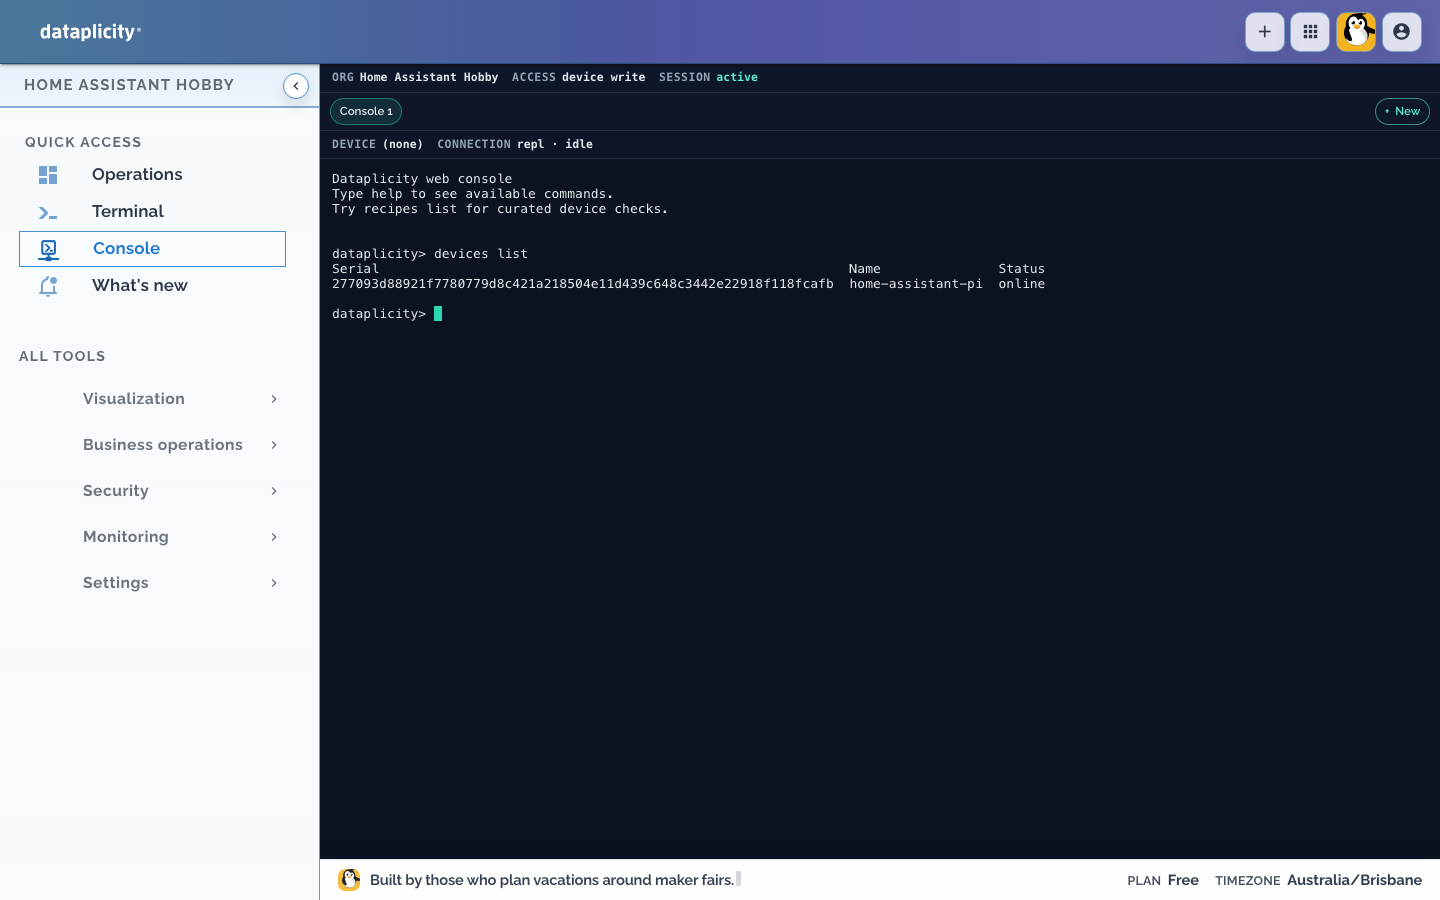
Full install detail: Connect your first device. If the device never appears, check firewall requirements.
Away from home: open the Home Assistant UI #
When you need Lovelace or settings from work or holiday, publish the HA UI through Wormhole instead of opening inbound ports.
Wormhole gives you a normal HTTPS URL that forwards to localhost:80 on the device. Home Assistant listens on 8123, so put a small reverse proxy on port 80 with WebSocket upgrade headers (HA needs those). You land in Home Assistant in the browser - not a remote desktop of the whole Pi.
- Install NGINX (or similar). See Host a website on a device.
- Proxy
80->http://127.0.0.1:8123. - Enable Wormhole on the device and open the HTTPS URL.
- Sign in with your Home Assistant user.
nginx
location / {
    proxy_pass http://127.0.0.1:8123;
    proxy_set_header Host $host;
    proxy_set_header X-Real-IP $remote_addr;
    proxy_set_header X-Forwarded-For $proxy_add_x_forwarded_for;
    proxy_set_header Upgrade $http_upgrade;
    proxy_set_header Connection "upgrade";
    proxy_http_version 1.1;
}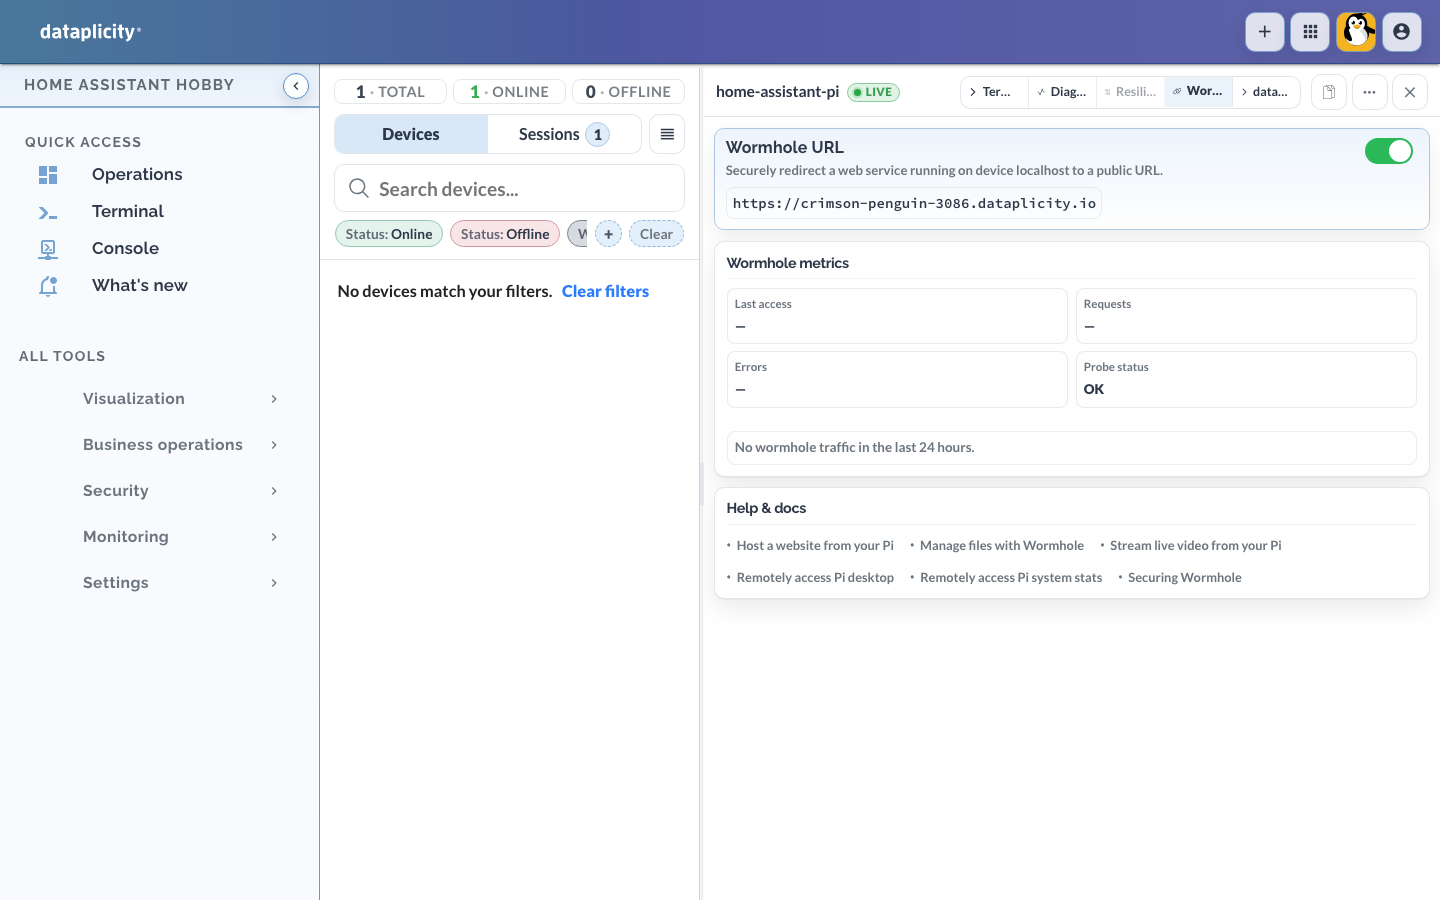
Before you leave it on: keep HA auth strong (MFA if you can), bind HA and the proxy to localhost where possible, and turn Wormhole off when you are not using it. See Securing Wormhole-enabled web servers. Shell opens and Wormhole toggles show up in the audit trail, which is useful if more than one person ever touches the account.
Something broke: fix it from Remote Shell #
This is the part most people use constantly. Open the device terminal and work on the Linux host the same way you would with a keyboard on the desk - including headless Container installs with no desktop session.
shell
docker ps
docker logs --tail 200 homeassistant
docker restart homeassistant

df -h
docker system df| What went wrong | Typical shell move |
|---|---|
| UI or automations stuck after a change | docker logs, then docker restart |
| Update went badly | Pull the previous or newer image, restart, watch logs |
| SD card full (again) | df -h, clear old images/logs, free space |
| Host wedged | Reboot from shell when you cannot get to the device physically |
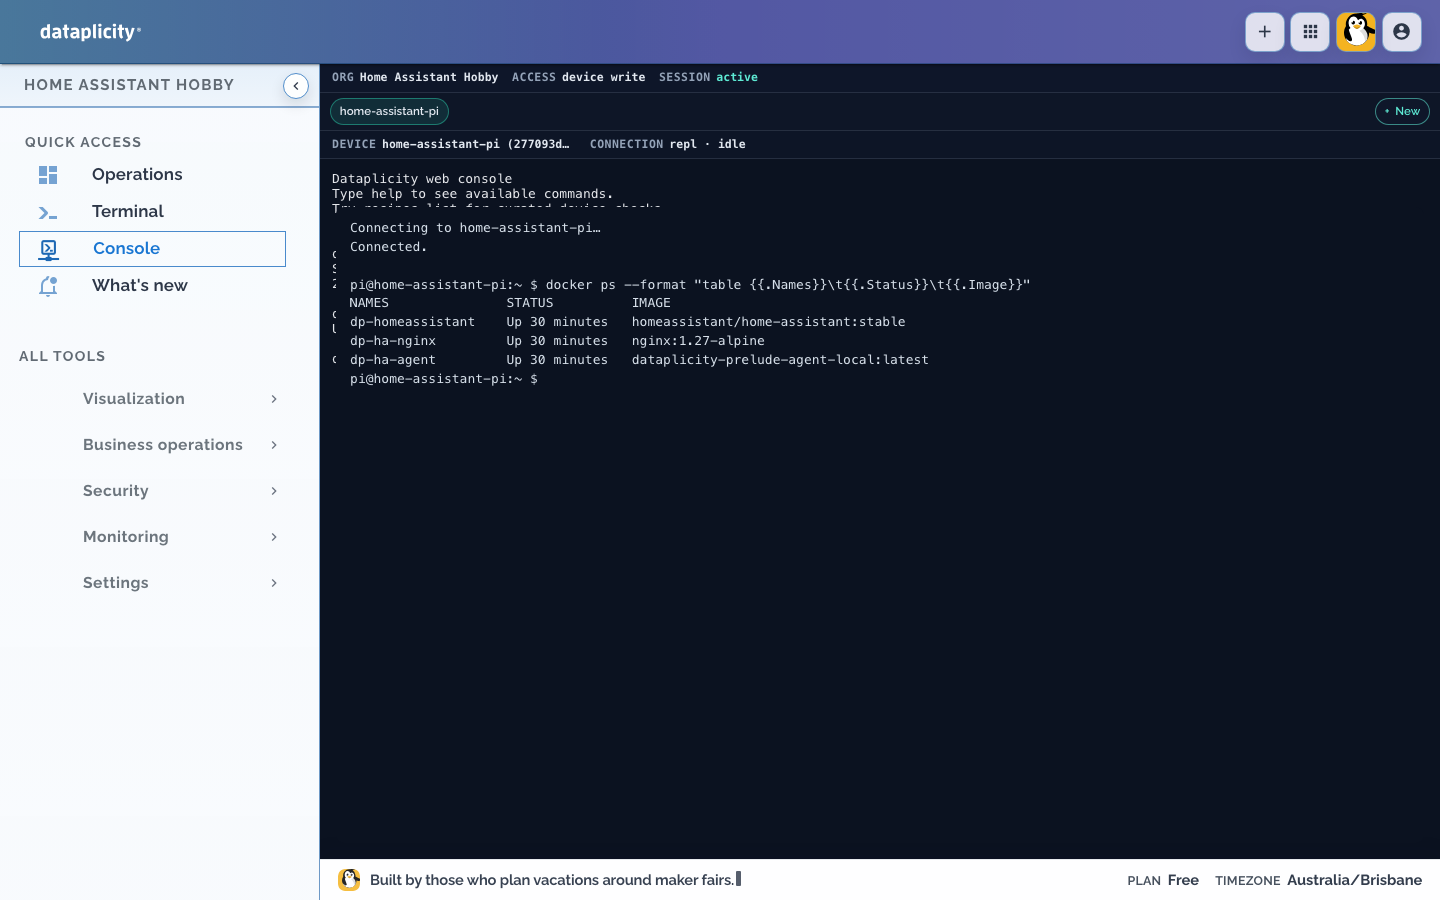
More on Remote Shell, htop, and shell privileges.
Know when the house goes quiet #
Spend the free-plan monitor on a single-device offline check for the HA host.
When that Pi drops off the internet, automations and the UI usually went with it. An offline alert means you find out before someone at home asks why nothing works - even if you never opened a remote session that day.
- Create a single-device offline monitor.
- Point it at
home-assistant-pi. - Briefly take the device offline once and confirm the alert fires and recovers.
Prefer host offline over an HTTP check on the Wormhole URL: it still works when Wormhole is intentionally off, and it covers the whole box.
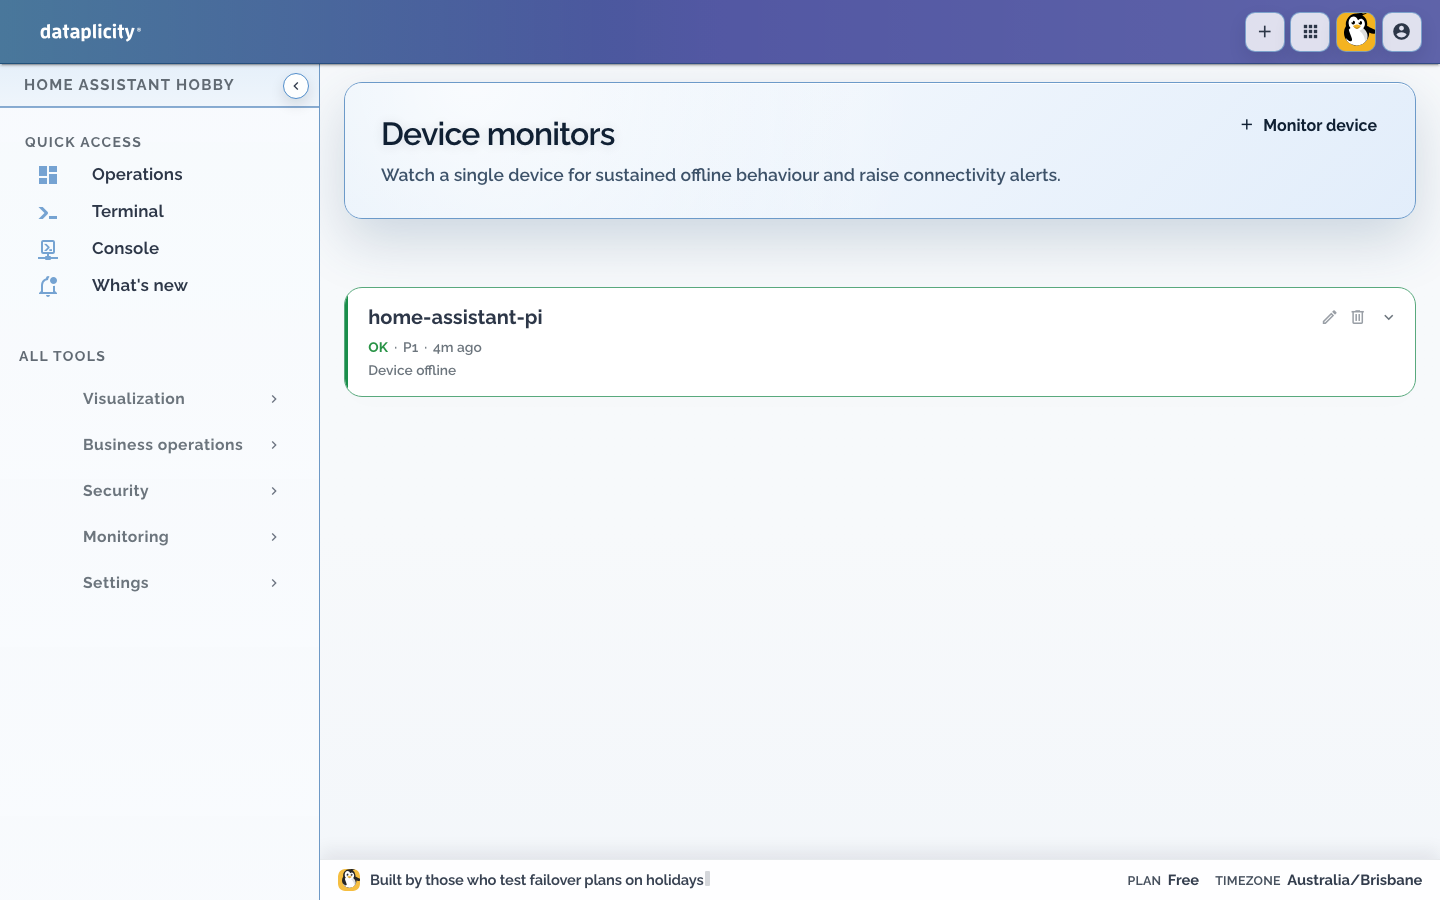
See Create monitors and alerts.
Do not rely on memory for backups #
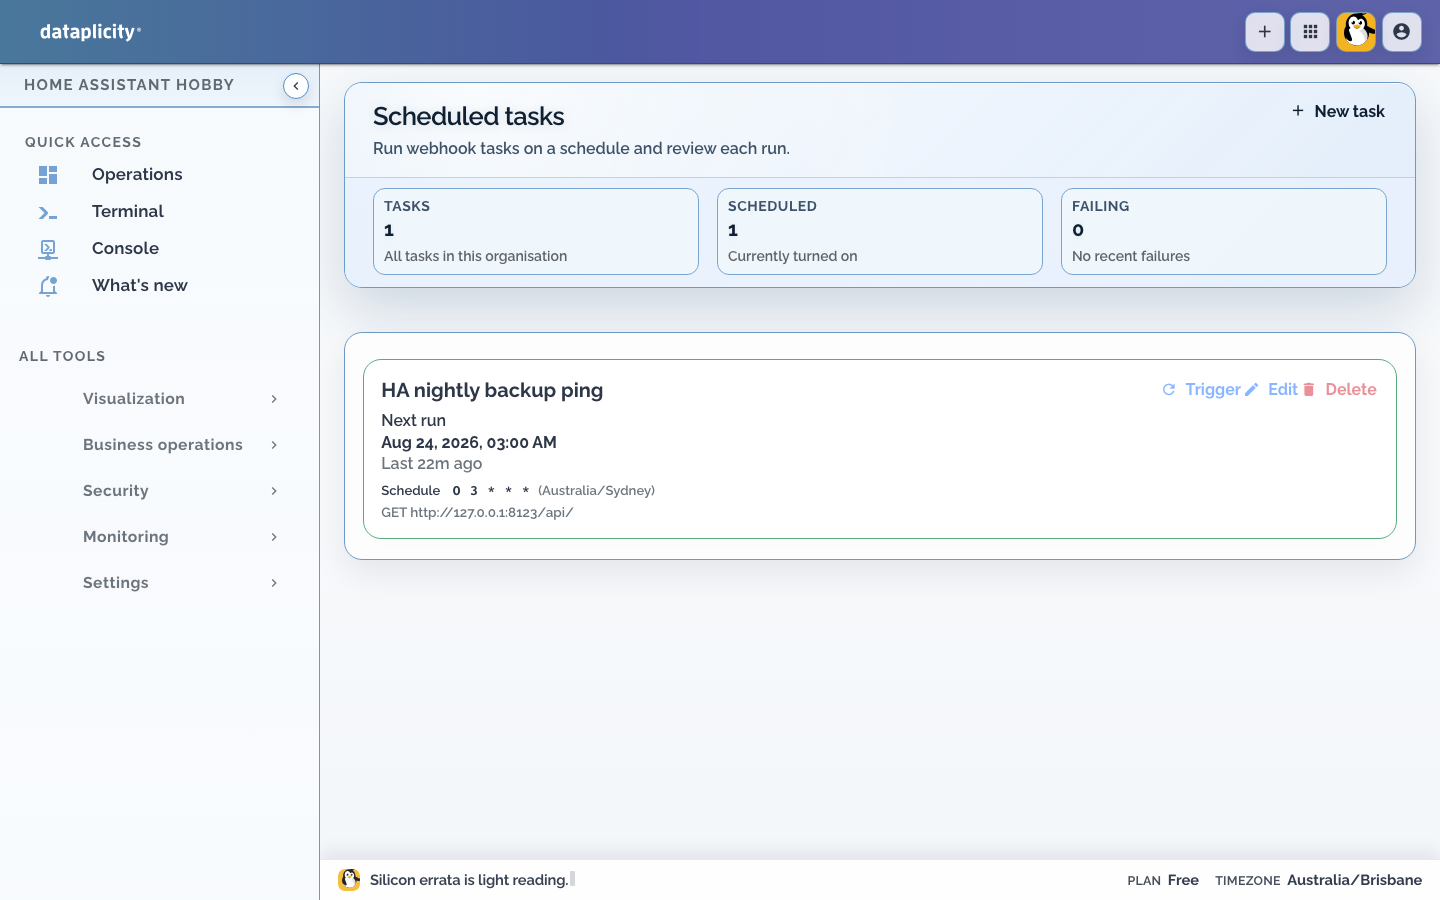
Use the free scheduled task for a small recurring HTTP job, for example:
- hit a Home Assistant webhook that starts a backup
- ping a health or notify endpoint you already trust
That is a cron-style webhook from the cloud - useful when you would otherwise forget until the SD card dies.
Glance at status #
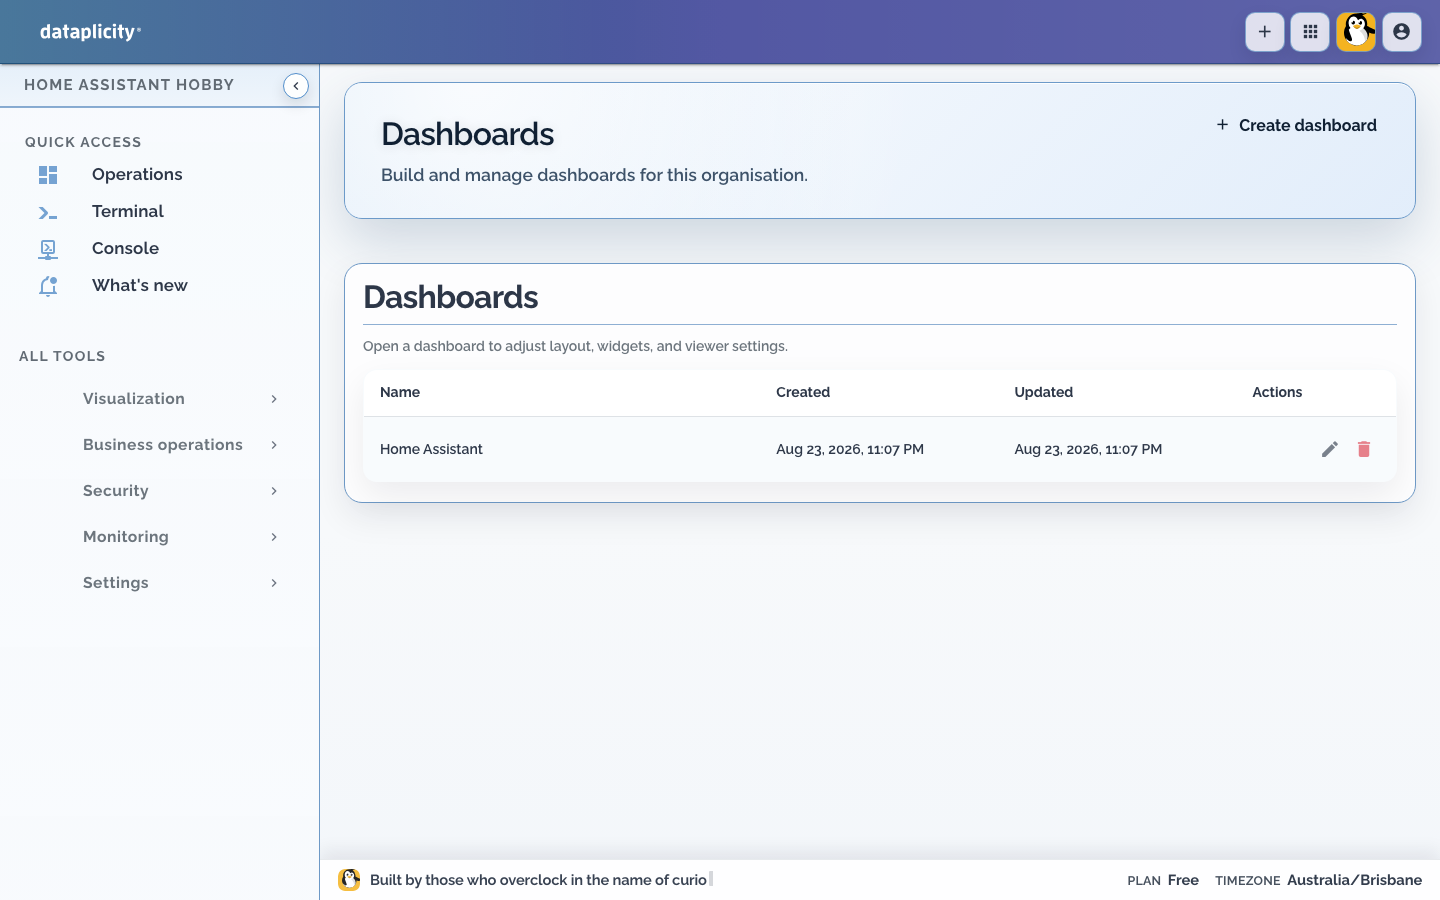
Build one dashboard for this device: online state, the offline monitor, and anything else you care about at a glance. Enough to answer "is Home Assistant ok?" from your phone.
A typical week #
| When | What people actually do |
|---|---|
| Something feels wrong | Shell → logs → restart HA container |
| After YAML / UI changes | Confirm on the LAN, then open Wormhole once to prove remote UI still works |
| Always | Leave the offline monitor armed |
| Monthly | From shell: update HA + host OS, check disk |
| Travelling | Wormhole on only if you need the UI; otherwise monitor + shell on demand |
Keep it boring and safe #
- Home Assistant keeps its own login; Wormhole is just the HTTPS path to it
- Proxy on localhost
:80; no inbound WAN ports required (the agent dials out) - Turn Wormhole off when you do not need remote UI
- Prefer Container on a normal Linux image if you want shell +
dockerrecovery - Check the audit trail after enabling Wormhole or opening shells so you can see what happened