

Appearance
Build a class container #
Build a class container when Dataplicity should install and version an on-device publisher for a product line.
The image is optional. The local agent broker is not optional for class streams: application telemetry goes to the broker, and the agent delivers it to Dataplicity.
text
container -> local agent broker -> agent-authenticated delivery -> DataplicityThis workflow requires a field-agent release that includes the local stream broker and Software runtime. It does not replace the existing agent installation guidance for Remote Shell and Wormhole. Your organisation administrator can confirm availability for the target device class.
Before building the image, complete the bring-your-own Linux prerequisites, including the container-runtime row and the agent storage map. RAUC is optional. If the same device also uses managed RAUC OS images, both prerequisite rows apply and the container store must be outside the A/B root filesystems.
No public minimum agent version is currently specified for streams alone. For settings delivery, require field agent 0.1.52+ (or a later release that documents the same local settings consumer). Qualify the reported agent version, broker, container runtime, architecture, hardware interfaces, restart behaviour, and rollback path together. Uploaded container tarballs use the same server-side casync indexing mechanism as RAUC bundles, with a microservice-shared store suited to successive releases. Devices with casync can reconstruct from local seeds, and devices without it download the full archive. See Software and firmware boundaries.
Security contract #
Your image must:
- publish only to the agent-local broker
- use class stream binding identifiers
- keep Dataplicity device and organisation credentials out of the image
- tolerate broker or network unavailability without treating direct cloud upload as a fallback
- run with the smallest device permissions required by the hardware adapter
The broker endpoint for supported field-agent releases is:
text
POST http://127.0.0.1:18765/v1/streams/{binding_id}The example publisher client posts JSON to that URL with Content-Type: application/json. A numeric sample looks like:
json
{
  "sequence": 1,
  "timestamp_ms": 1710000000000,
  "body": { "value": 12.4 },
  "metadata": { "source": "example-sim" }
}Set History on the class stream. The agent applies that retention at ingest; a publisher storageProfile does not override the class contract. Keep the released helper for timestamp handling and error behaviour. Do not infer this contract from a browser API or from the public Gateway API.
Use Live only for high-volume data which does not need offline retention. The agent keeps it in process memory and may spill it only to the RAM-backed volatile_dir. Use Keep history only when retention is required; durable device buffering additionally requires the OEM to set and qualify durable_mount in agent.yaml. Without that setting, the agent keeps the samples volatile rather than silently writing them to flash.
Receive actions and settings #
Field agent 0.1.52+ also exposes reverse control on the same loopback broker. Fresh installs create /var/lib/dataplicity/config/current and run the supervisor as dpagent. Your image still must not embed device credentials.
| Direction | Endpoint | Use |
|---|---|---|
| Action inbox | GET /v1/actions or GET /v1/actions/{binding_id} | One-off operator commands (oem.action). Optional ?wait=<seconds> |
| Desired settings | GET /v1/settings or GET /v1/settings/{key} | Lasting desired values (oem.setting + manifest). Optional ?wait=&since= |
| Reported settings | POST /v1/settings/{key}/reported | Acknowledge the applied value; the agent proxies with device auth |
| File snapshot | $DP_CONFIG_DIR/parameters.json | Read-only mount of /var/lib/dataplicity/config/current (default /etc/dataplicity/config) |
Managed containers receive DP_STREAM_BROKER_URL and DP_CONFIG_DIR. Apply settings idempotently, then report. Desired state on the broker does not mean the actuator moved. See Device data and control contract.
Start from a sample image #
The safest construction path is to keep the released publisher helper and replace only the simulated source:
- Open Engineering > Software, select the Device Class, and choose Containers.
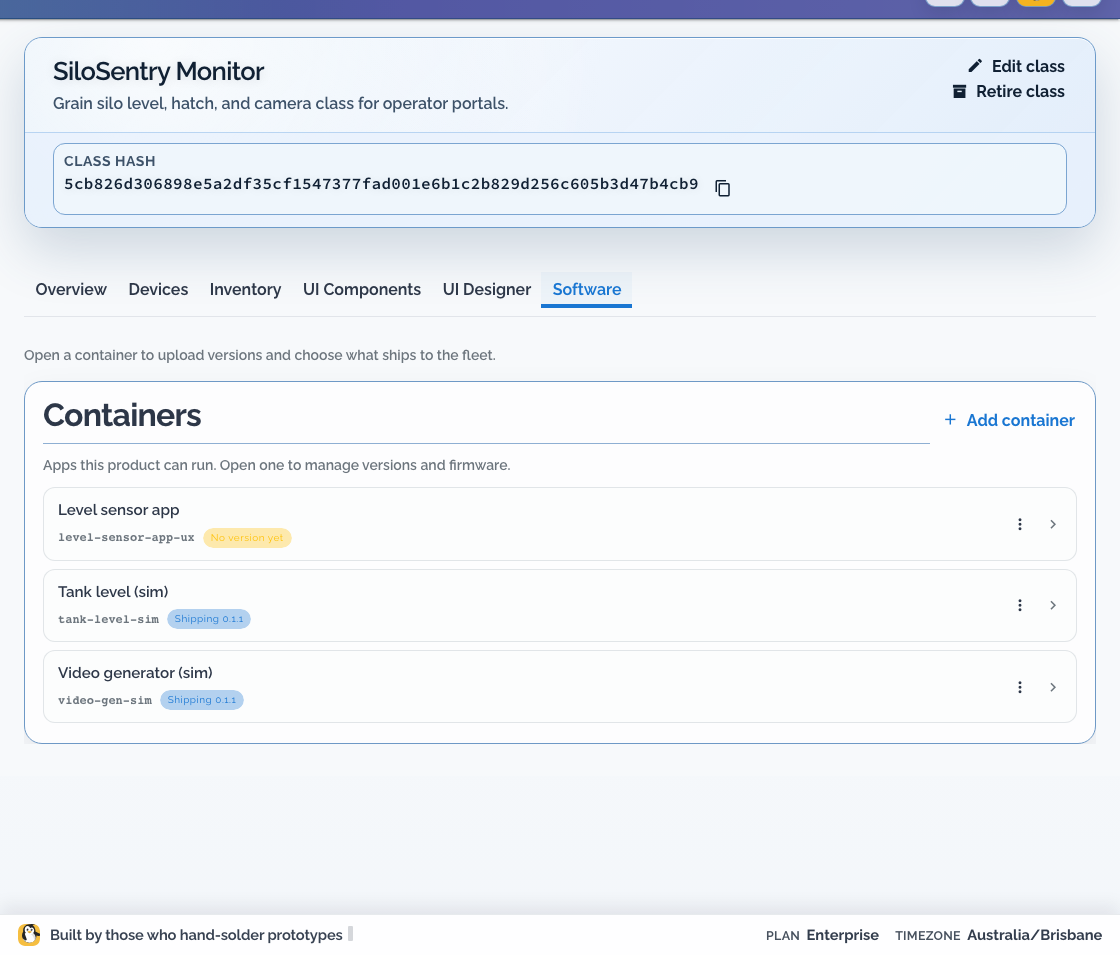
- Choose Add container, select a Dataplicity-managed example, and pick the simulator closest to your data.
- Open that container, choose Upload version, and use Download a practice .tar if you need a local archive to inspect.
- Use the corresponding
examples/<sim-name>/source from the Dataplicity examples repository or your fork. The practice archive contains the built OCI image, not its source. - Keep its broker client and bounded publish loop.
- Replace the sine, fill/drain, or temperature generator with your hardware adapter or application data source.
- Keep stream IDs aligned with Engineering > Software > I/O for the selected Device Class.
- Move thresholds and installation-specific values into the container's parameter schema and Device Class overrides.
Managed examples are published by Dataplicity. Your replacement is organisation-owned OCI software: your organisation owns its parameter schema, versions, tests, and hardware qualification. See Configure container software.
The sample images are simulators, not hardware drivers. A production adapter still needs its own tests, bounds checking, and device-permission review.
Design the publisher #
Separate the image into three small responsibilities:
| Part | Responsibility |
|---|---|
| Hardware adapter | Read a sensor, local service, file, socket, or application state |
| Normaliser | Validate type, range, unit, and missing-data behaviour |
| Broker publisher | Send the normalised sample to its class binding on loopback |
Use a stable interval appropriate to the signal. Avoid retry loops that spin when the broker is unavailable. The agent owns cloud buffering and retry; your process should preserve local stability and resume publishing when the broker returns.
Configure streams before building #
Declare the streams on the Device Class first. For each stream, record:
- binding identifier
- customer-facing name
- value type
- unit
- expected update interval
- stale-data behaviour
Use the same binding identifier in the publisher and the device-page widget. See Device class streams.
Configure the image #
Prefer environment variables for values that vary by class deployment, such as a setpoint, capacity, warning threshold, or sampling interval. Validate them at process start and fail clearly when their ordering is unsafe.
Define operator-facing keys, labels, types, defaults, groups, hints, and allowed choices in the container parameter schema. The schema belongs to the software definition. Values selected for one Device Class are stored as class overrides and apply when a Build ships; they do not change the immutable OCI release.
Do not use environment variables for Dataplicity credentials. The field agent is the credential boundary.
Hardware access is release and deployment specific. Verify the Software runtime exposes the required serial port, GPIO interface, socket, or file before selecting this pattern. Do not add privileged mode or arbitrary device mounts that are not offered by the Software configuration for the Device Class. If the existing product process already owns the hardware, publish from that process to the same local broker where supported.
Export an OCI archive #
The upload field is Container image (.tar). The archive is a built OCI image, not a source-code tarball. Build for the target hardware architecture:
bash
docker buildx build --platform linux/arm64 \
  -t my-product-publisher:0.1.0 \
  --provenance=false --sbom=false \
  --output type=oci,dest=my-product-publisher_0.1.0_oci.tar \
.Change linux/arm64 to the architecture supported by the class. The Software upload accepts OCI archives with .tar, .tar.gz, or .tgz suffixes.
Upload and release #
- Open Engineering > Software, select the Device Class, and choose Containers.
- Attach an existing organisation container or create one with Add container > Your container.
- Choose Upload version and upload the OCI archive.
- Open Builds and choose Create build.
- Select one version for every attached container.
- Select an optional OS image when managed OS updates are enabled.
- Review the composition, add a changelog, and create the Build.
- Select the Build as the class default, or choose Assign cohort for a tag cohort.
- Verify deployment results and application health before expanding the target.
If the Build includes an OS image, its containers begin applying from the Build selection while the OS waits for a staged rollout under Delivery. The container Build does not update the field agent, Linux image, kernel, bootloader, modem, microcontroller, or other physical device firmware. Follow Software Builds and cohorts and Software delivery for the canonical release procedure.
Troubleshooting #
No image starts #
- Confirm the device runs a field-agent release with Software support.
- Confirm the image architecture matches the hardware.
- Confirm an effective Build selects the version and that the class default or selected tag cohort includes the staging device.
- Inspect the deployment result before uploading the same archive again.
Image runs but no stream appears #
- Confirm the class contains the exact binding identifier.
- Confirm the process posts to loopback, not a cloud URL.
- Confirm the broker is present in the field-agent release.
- Confirm the widget uses the same class stream.
- Check value validation and publish-loop errors inside the image.
Values stop while the device is offline #
Do not add cloud credentials to the image. Let the agent buffer and retry. Confirm publishing resumes locally and verify recovery after the device reconnects.
Hardware is unavailable inside the image #
Check the permissions and device interfaces offered by the Software runtime. If they do not expose the required hardware safely, keep the hardware adapter in the existing device runtime and publish to the local broker from there where supported.